Delivering peace-of-mind reliability, the Neptune™ Advanced Stroke Controller allows the capacity of any Neptune 500 Series,
600 Series or 6000 Series Hydraulic Metering Pump to be automatically controlled in response to a standard 4-20 mADC process signal.
The one-piece controller positioner can be mounted directly to the pump without machining, special drillings, or tapings. This simplifies the retrofitting process, making it effortless for water and wastewater treatment and other applications that demand
accurately proportioned pump flow.
As part of our commitment to helping our operators increase operational efficiency, the following step-by-step guide (part of our ProTip Series) will demonstrate how to properly
and quickly retrofit the Neptune Advanced Stroke Controller to a 500 Series Hydraulic Metering Pump.
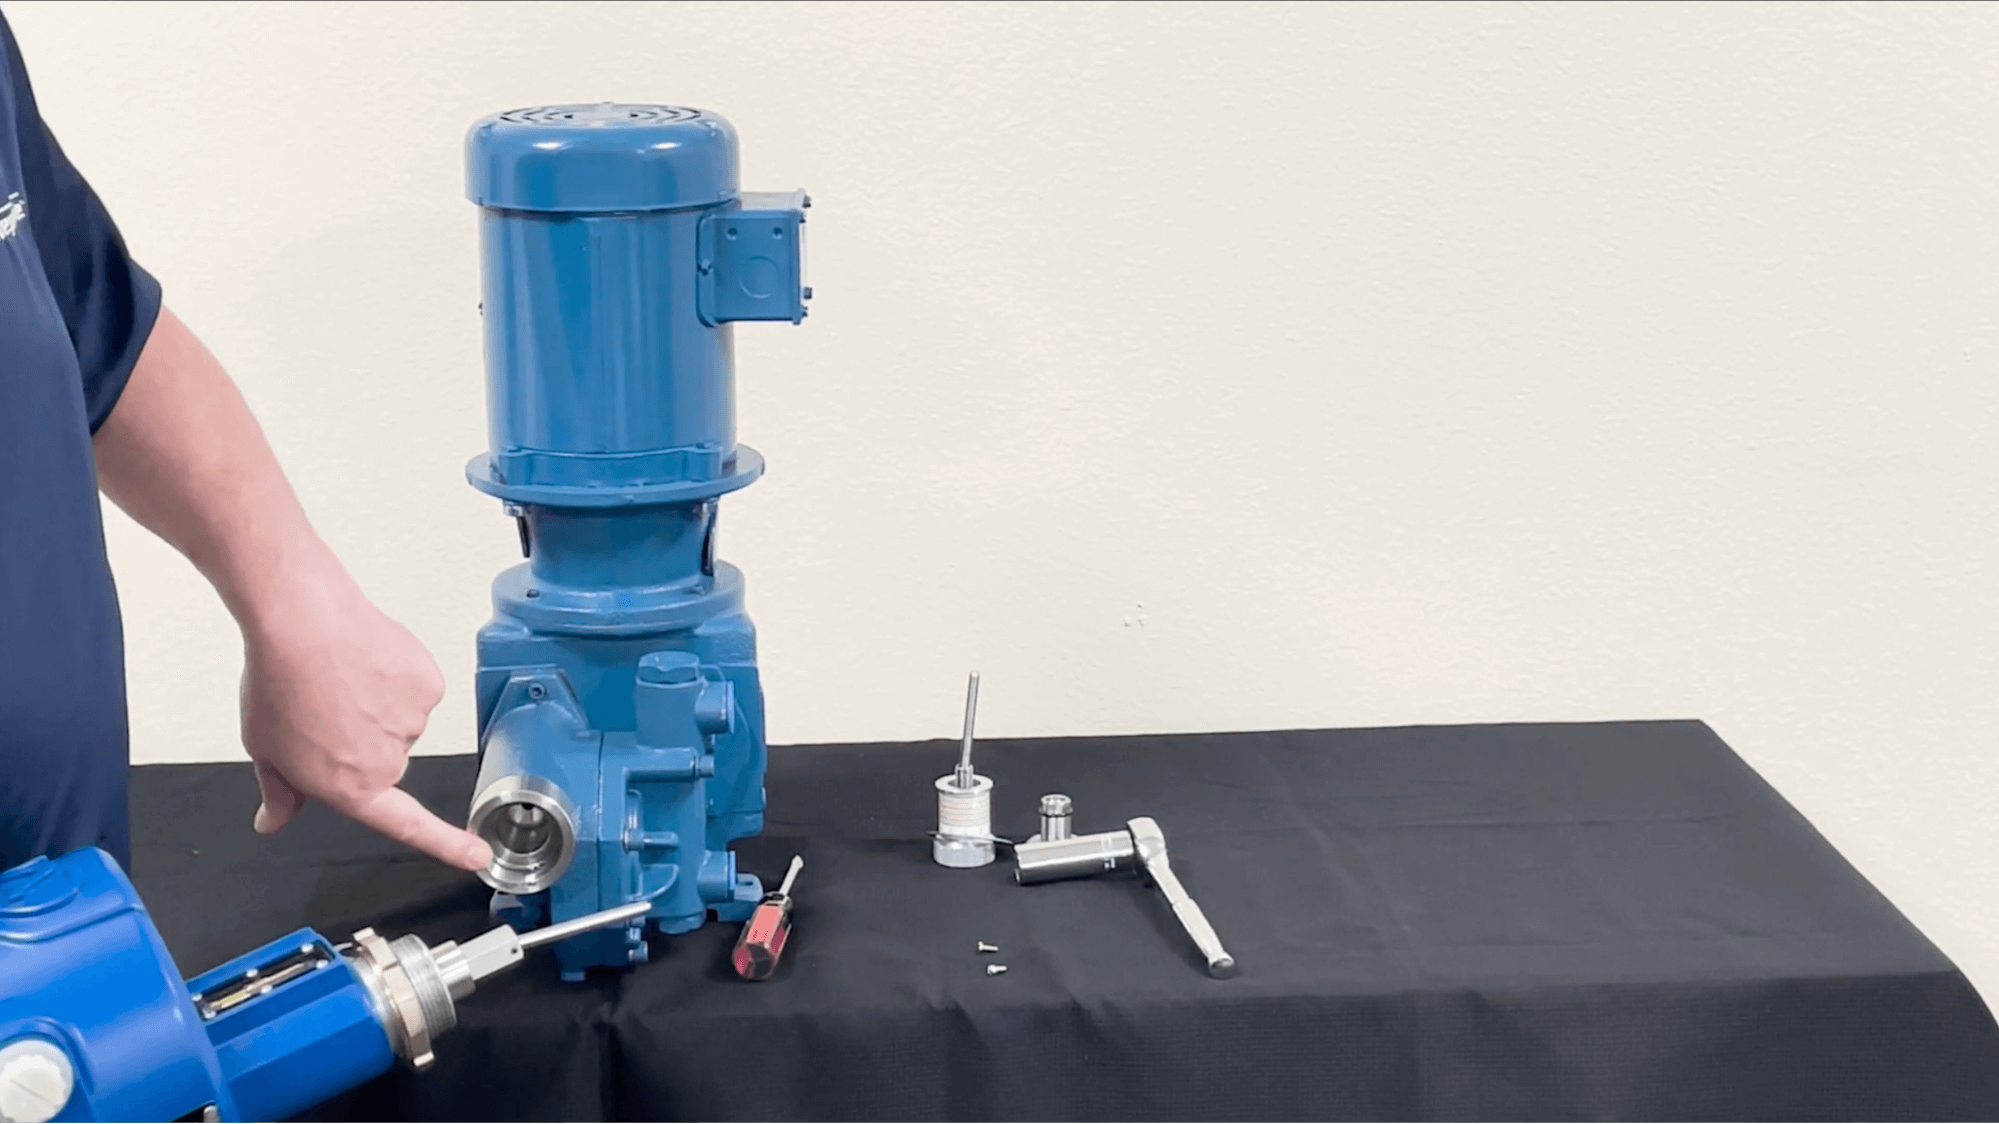
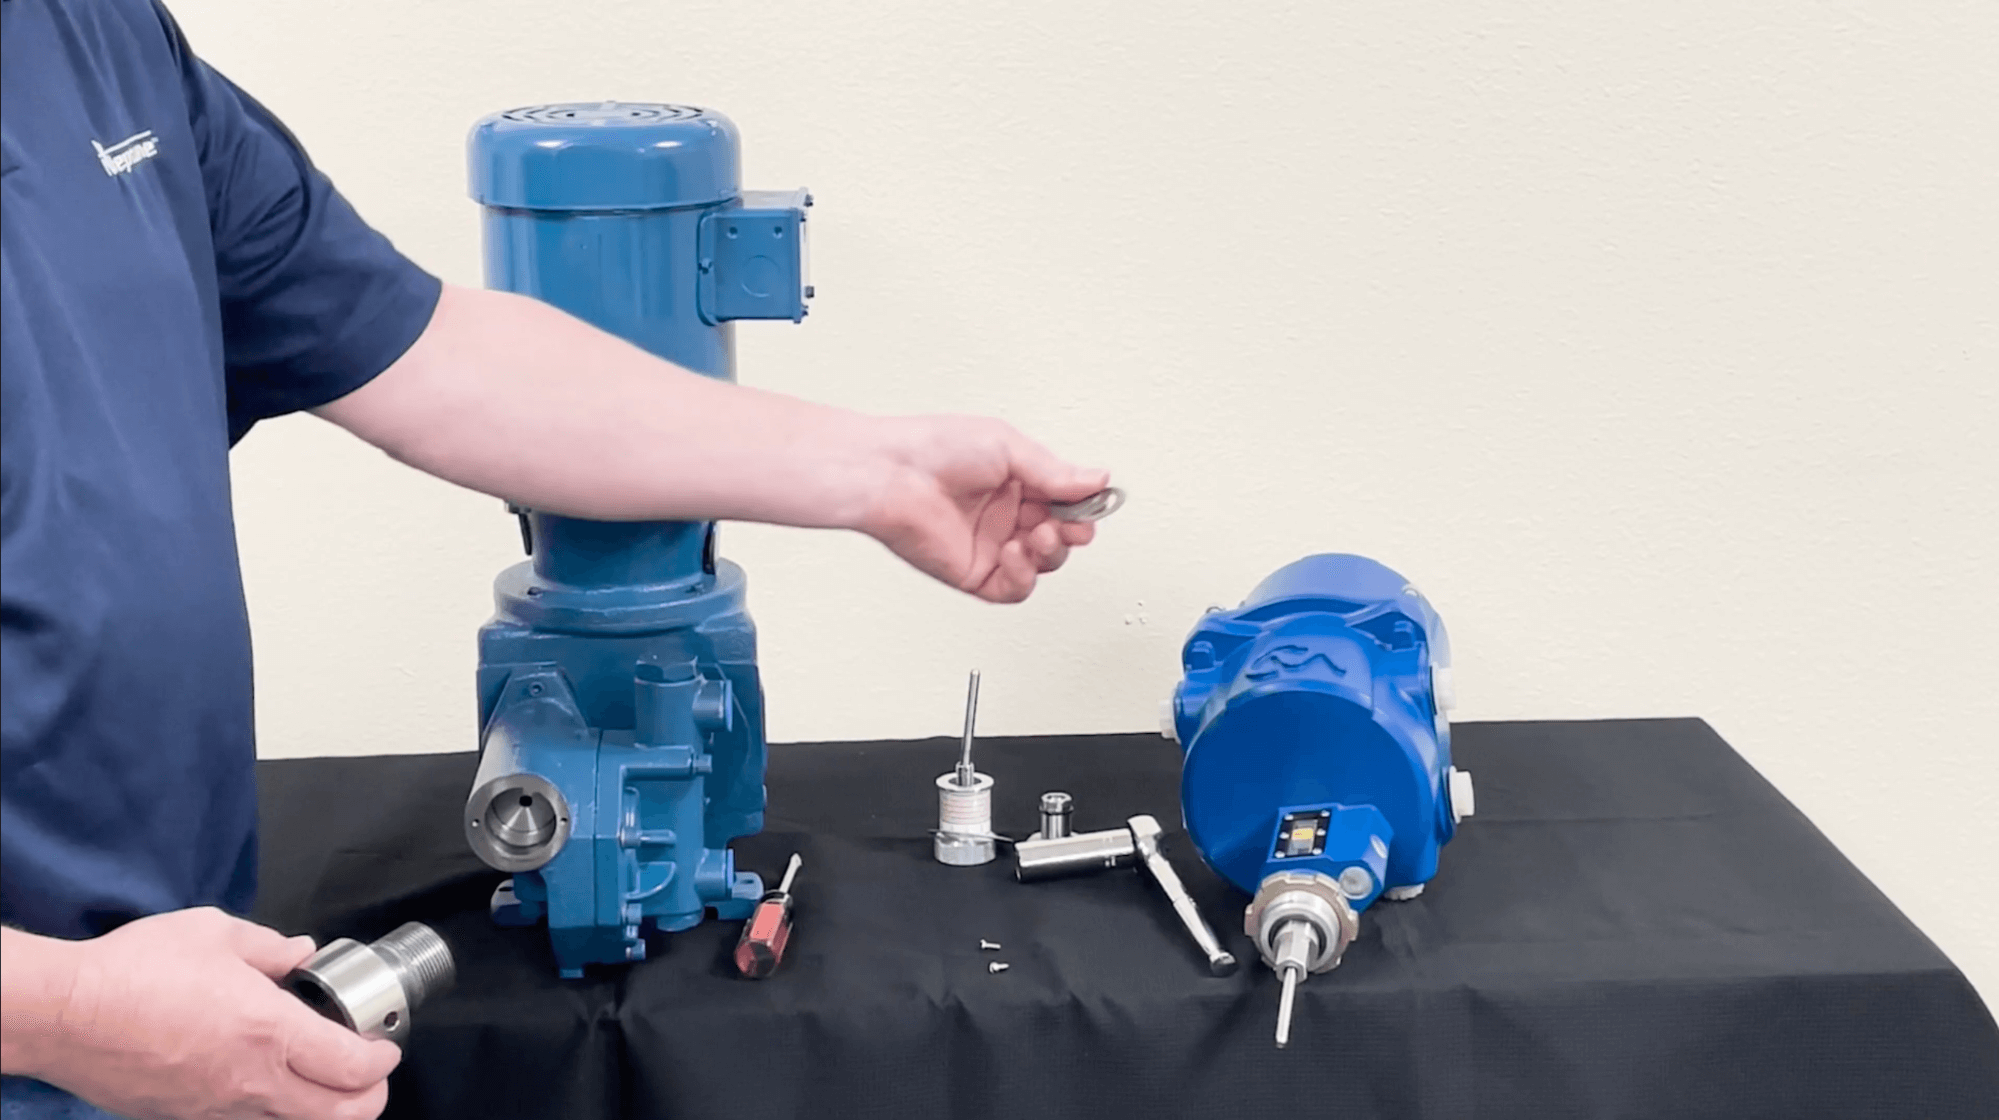
Step 1
Locate the control rod, which is connected to the nut. Apply a breakable thread locker to the control rod threads. Insert the control rod into the controller shaft manually and secure it tightly using a wrench.
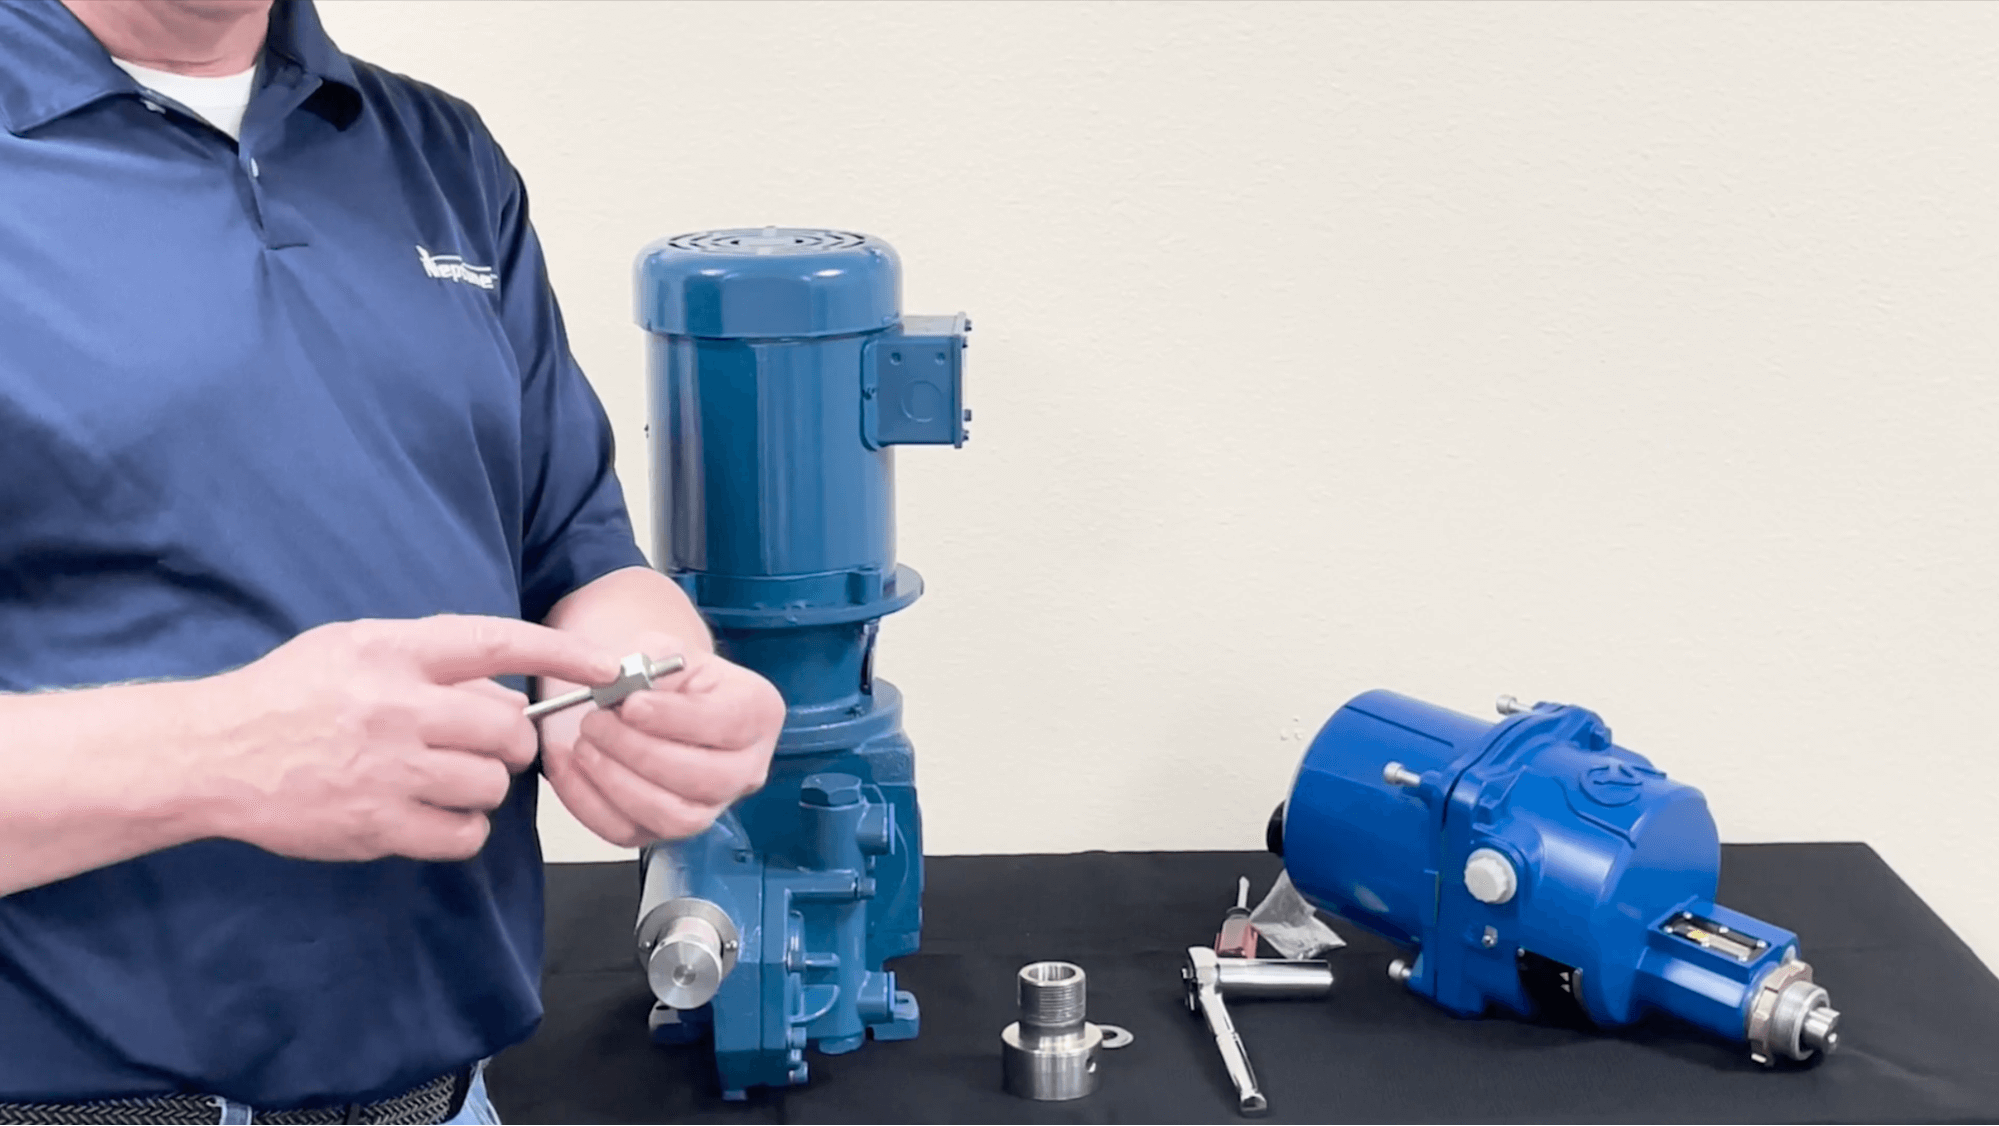
Step 2
To detach the manual control knob from the pump, employ a flathead screwdriver to loosen the two screws. After removing the screws, simply unscrew the knob by rotating it away from the sealing nut positioned behind it. Set
it aside, as it will no longer serve a purpose.
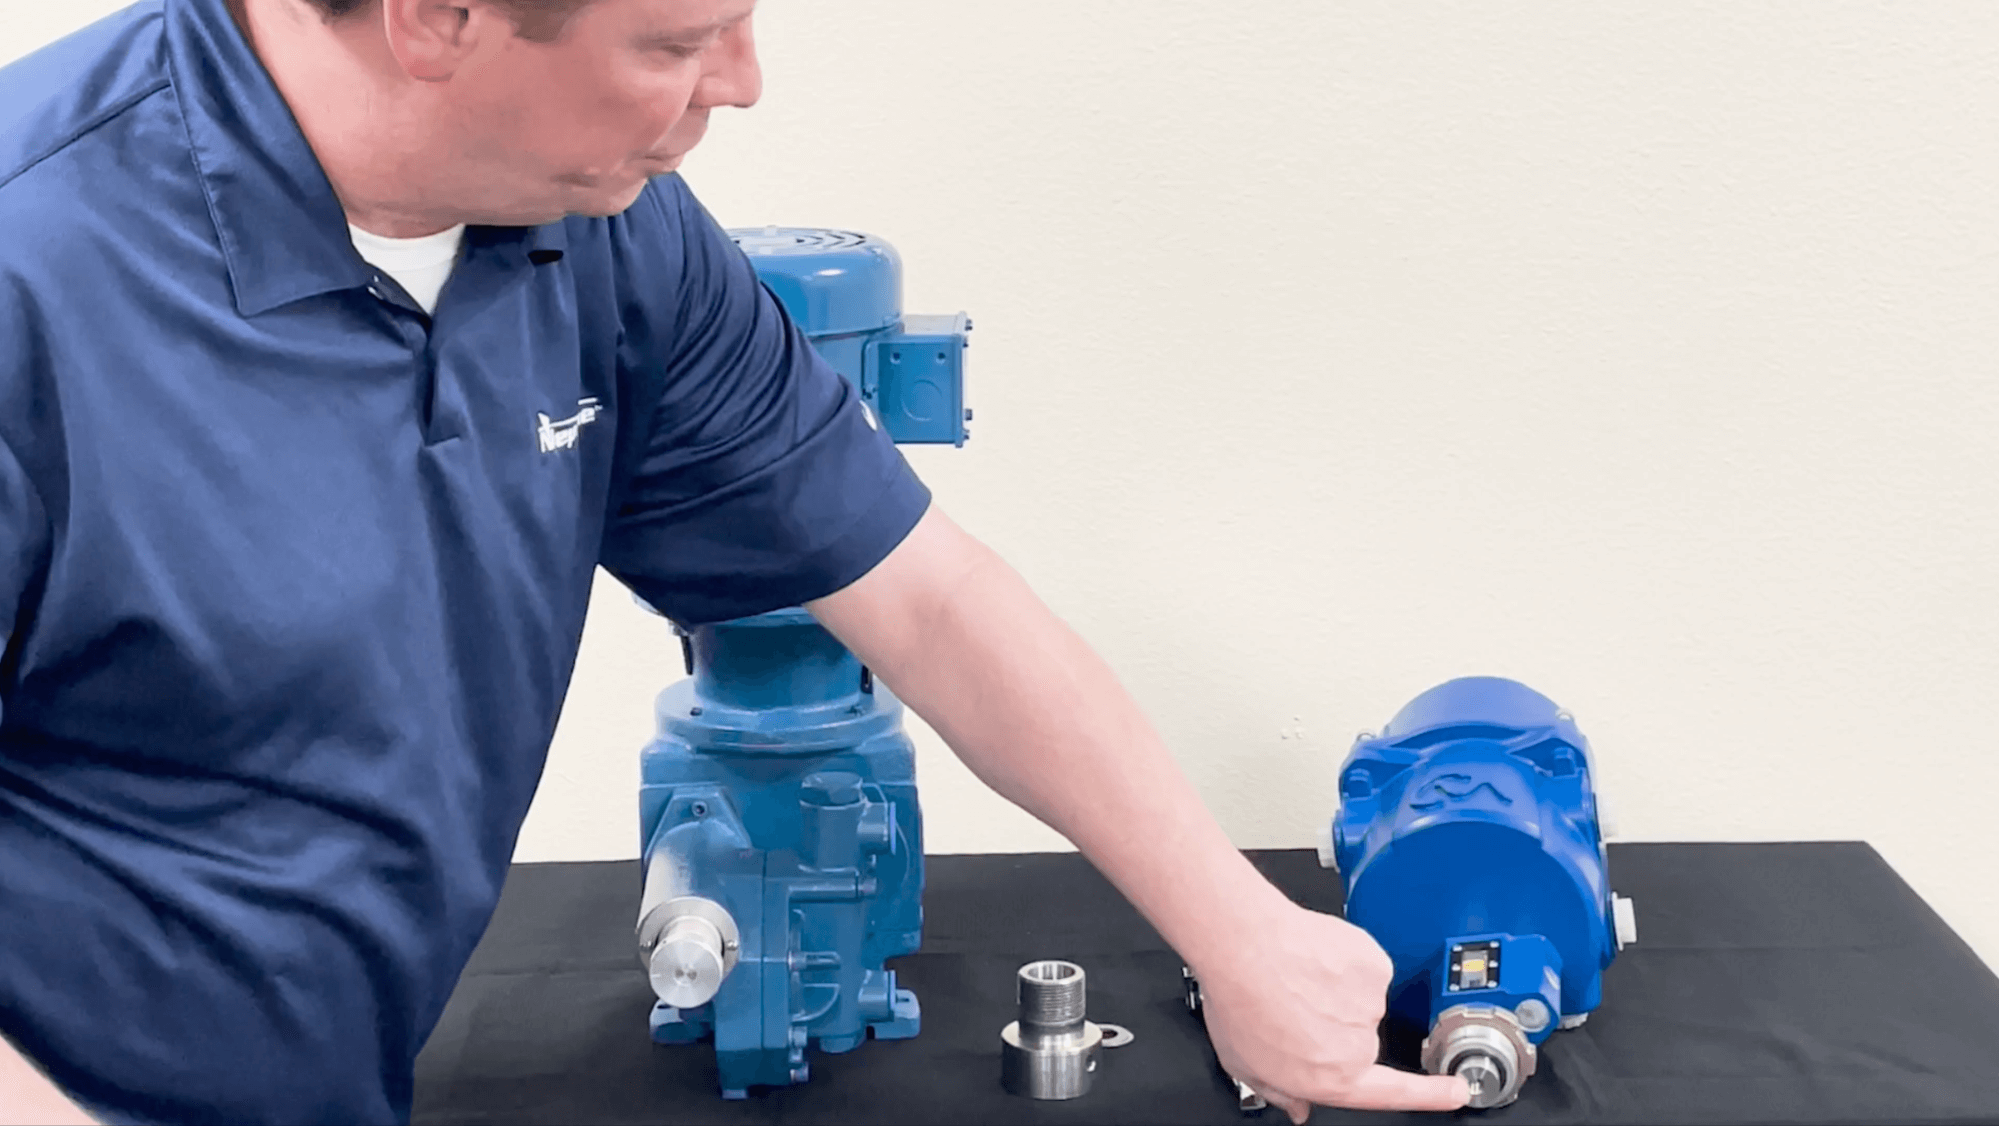
Step 3
Detach the sealing nut from the pump using an 11/16-inch socket and ratchet. Once it's loosened, unscrew it manually. Set it aside, as it won't be required any longer.
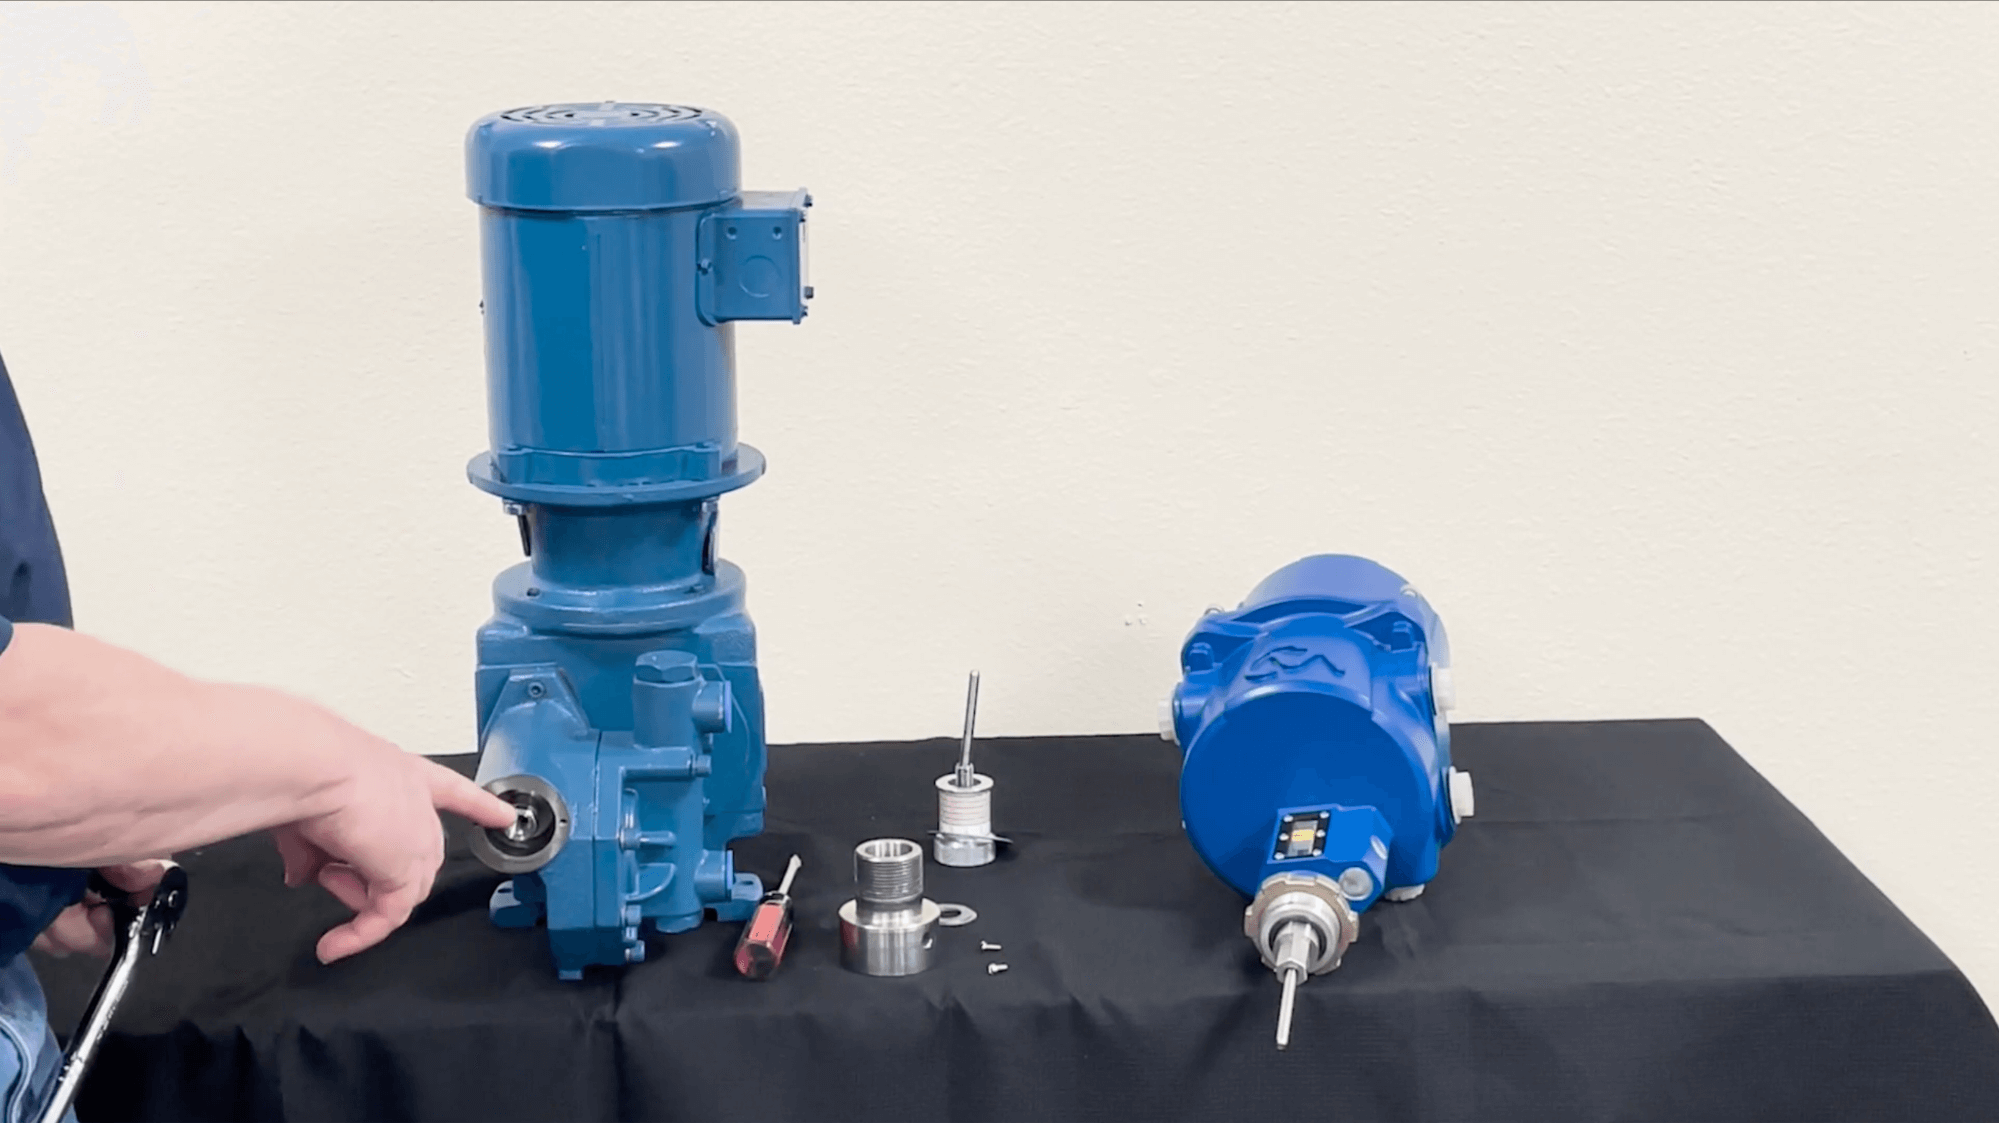
Step 4
Attach the adapter to the pump by hand, screwing it in securely. Insert the necessary number of washers into the hole against the sealing plate. Once correctly positioned, use a strap wrench to tighten the adapter. Remember,
the weep hole indicating any potential leaks should be positioned between 4 and 8 O'clock on the pump.
Step 5
Using the installed control rod, guide the advanced stroke controller into the sealing plate. Gently screw it in by hand, ensuring a snug fit. Utilize a flathead screwdriver to tighten the nut to the adapter until two threads on the control rod are visible. Once securely fastened, the retrofitting process is finished.