As an ideal technology for metering applications, the Neptune™ 500 Series Hydraulic Metering Pump offers a variety of benefits and features – including variable oil by-pass stroke adjustment and Simplex and Duplex configuration availability – help deliver the signature peace-of-mind reliability customers expect.
But the 500 Series also offers operators something else: it improves operational efficiency by simplifying maintenance and cleaning with EZE-CLEAN™ Valves, which have cartridges that can be removed without disturbing the piping to the pump.
Following this step-by-step guide – part of our ProTip Series – can help operators correctly remove and replace the valve cartridge of their
Neptune 500 Series Hydraulic Metering Pumps.
Step 1
Drain the oil from the gearbox from the drain plug and flush out any chemicals in the pump head.
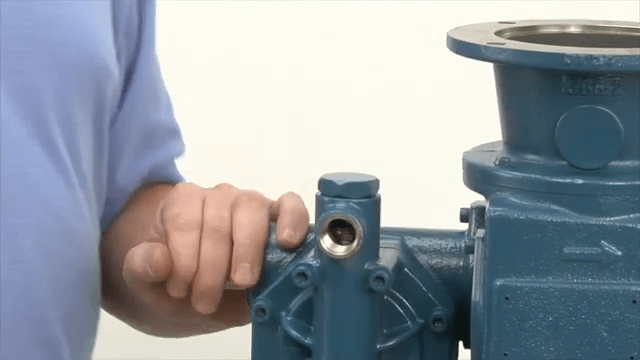
Step 2
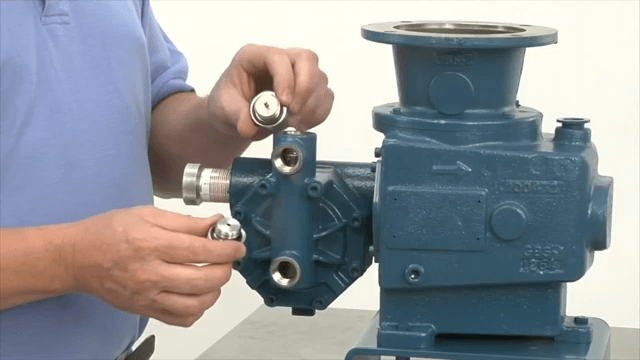
Remove the top and bottom valve caps by unthreading them by hand.
Step 3
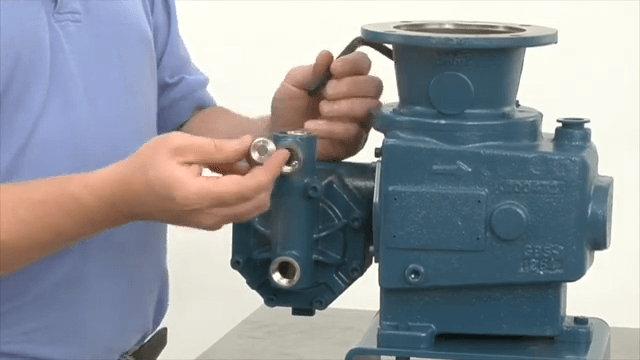
Remove the ball retainer on the top valve with the Allen wrench.
Step 4
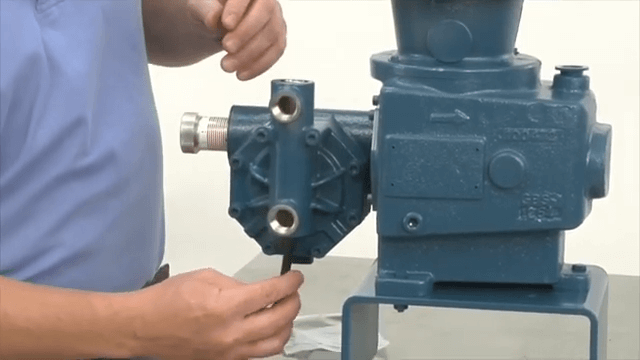
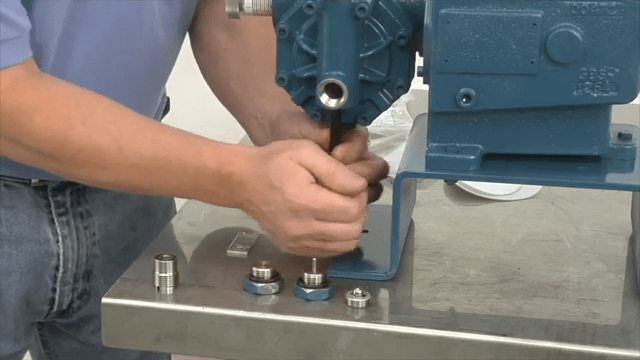
Use the special discharge valve tool and the Allen wrench, that is included with every 500 series pump, to loosen and remove the discharge valve. Note: Ensure the two notches on the special discharge tool are correctly
secured onto the retainer.

Step 5
Remove the bottom valve with the Allen wrench.
Step 6
Remove the O-rings from the discharge and suction valves and the discharge and suction caps and replace them with the new valve cartridge and new O-rings.

Step 7
Replace the bottom valve using the Allen wrench to tighten it into place.

Step 8
Replace the bottom cap by threading it into place and then tightening it with a wrench.
Step 9
Replace the discharge valve by placing the ball retainer back and using the special discharge valve tool to tighten it into place. Note: Make sure the machined end is placed onto the ball and the side with the engraved
T faces upwards.

Step 10
Finally, replace the discharge cap by threading it into place and tightening it with a wrench.
Once complete, make sure the caps are tightened securely.
Keep in mind that properly removing and replacing the valves helps ensure the best performance of your pump. Please refer to your pump’s manual for any other specifications.
For a step-by-step demonstration by a Neptune expert,
click here to watch the video.