Since 1961, Neptune® has been known for providing accurate hydraulic metering pumps designed to handle critical applications in various industries, including agriculture, oil and gas, chemical processing, and water and wastewater treatment. However, the internal relief valve must be adjusted correctly for these pumps to perform optimally in these demanding applications.
The following step-by-step guide, part of our ProTip Series, will help you properly set the internal relief valve of Neptune 500, 560, 600 and 6000 Series Hydraulic Metering Pumps.
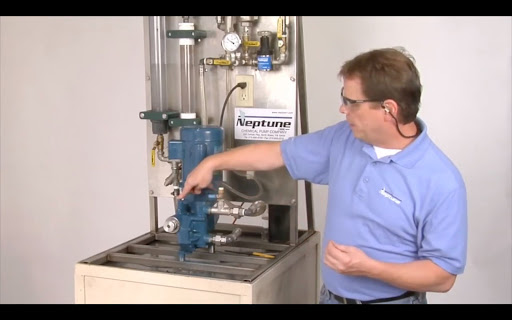
Step 1
Locate the relief valve. Note: Depending on the particular model, the relief valve will be positioned either at the top or bottom portion of the pump.
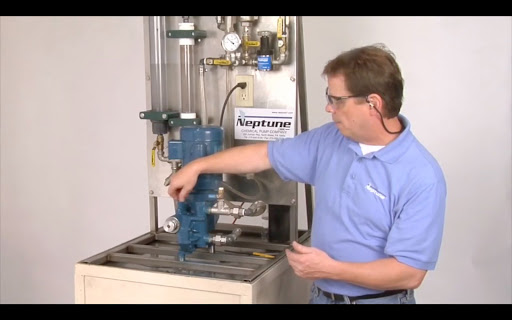
Step 2
Unscrew the relief valve cap to reveal a threaded hole leading to a 3/16” adjustment screw.
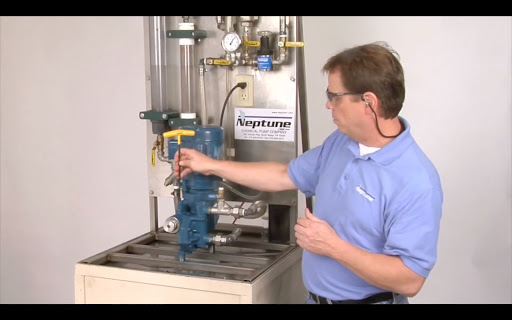
Step 3
Place a 3/16” Allen wrench onto the relief valve adjustment screw.
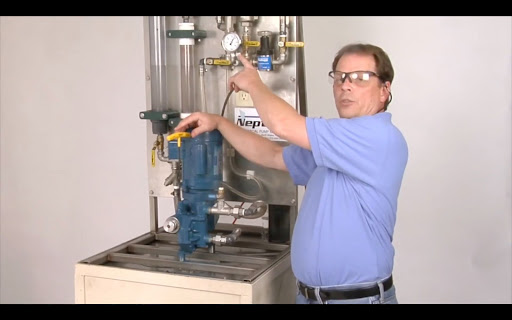
Final Step
While keeping an eye on the pressure gauge, turn the Allen wrench clockwise, increasing the pressure until it reaches the desired setting. Note: The internal relief valve pressure should be 100 psi above the discharge pressure. For example, if pumping at 150 psi, the relief valve should be set at 250 psi.
Once the pressure is correctly set, your Neptune hydraulic diaphragm metering pump is ready to start pumping.
Although setting the relief valve is similar for all models, please refer to your specific pump manual for detailed maintenance and safety instructions.
Watch this video to see a Neptune product specialist demonstrate how to correctly set the internal relief valve of a hydraulic diaphragm metering pump.